Showing posts with label DIY. Show all posts

Thursday, August 14, 2014

Slim down those DVDs!!

Do you have LOADS of DVDs? I did, or at least I felt like I did! I found out today I only have about 70! Felt like I had over 100! So, today I did something about it!

I have seen these DVD organizing sleeves on Pinterest, where all your DVDs are organized in a clear sleeve, and they fit in a shoebox!! So I went hunting online to find these things, and let me tell you they were either unavailable or super expensive. Yall know I'm not gonna pay that much, so I did some DIYing!

I went to Office Max! Surely they will have these sleeve things for cheap! Or something similar!


I found these guys for $6 each! I bought 4 sets of sleeves, and 2 binders that go with them. They are just regular sheet protectors! And guess what?! They fit DVD covers in them perfectly!!


So I set to it! I took each cover out of the case and folded it on the spine, just a little offset. Be sure to check the fit with your sleeves here. Once you've folded a few, you wont need to measure much anymore. Then the DVD went in the cover, and it all went in the sleeve.

It's amazing how much room those cases takes up!!


This is my after photo! Look at all that space! This shelf was full before I got started! FULL!! Now its just Dwayne's Xbox games and our Harry Potter DVD set thats left. The rest is compressed into those binders! How awesome!

Yes, these are the same shelving units that I had set up in our living room, that I decorated with burlap to "hide" our stuff. These units have been with me for years and are so awesome, I use them for everything!


Ta-da! All 70 something DVDs, taking up only 4" of space! Ahh! So nice, and NOT an eyesore, as well!

Ok, so now what do I do with the cases? Well, I had a few ideas in mind, but I'm so busy with other things right now I decided not to start a new project. (Dwayne felt my forehead when I said that, and I can't blame him at all!, LOL)

To the recycle they go!


SO, did I make you want to do this? Let me know if you do!

Friday, July 26, 2013

Crafty Updates

Getting it all under control....

Sort of!


So, I showed you guys a few of my organized things already, my yarn mostly, and some decorum that makes my house at least seem organized. So now I want to share with you a few more things I've done and had to DIY and make work for me.

When I bought my Krafty Kloset, it had this mysterious, oily, greasy, stain right where my mouse would have gone, and it took me a while to find something to remove it. It hit me quite suddenly to try nail polish remover. I use the full strength kind because when I do some one's nails I want to make sure they are good and free of anything old. I figured, why not? So I grabbed a few q-tips and tested my hunch. Worked wonderfully! I stepped it up a notch and got some paper towels to really cover the big area that was stained. Here you can see where I poured acetone right onto the stain and it just lifted right up! Awesome!! :D


 Ewwww! Look at whatever that is!! Gross!


So now my ugly spot is gone, gone, gone! The acetone may have also removed a bit of the clear coat (if there even was one) but I plan on painting the interior of the Kloset anyway.


Oh, say hello to our newest member of the family! Axle Grease!


This little guy was stuck under my hood! After a few hours trying to coax him out, Dw finally got under the car himself and pulled him off my axle. (Hence the name Axle Grease!) I immediately asked we could keep him, and Dw being a sucker for anything fuzzy, agreed! Our lease at this new house says no pets, so we are keeping him under wraps for now. I have taken him to the vet and had him neutered and vaccinated. He also got a bath and some flea killer (Dawn) when he first arrived.

At first he was very flighty and kept getting into my couch. Yes inside it! There was a gap where the underpinning wasn't attached and he would hide in the arm of the couch. I fixed that quick!


I found him like this this morning! Isn't that just the cutest little face!


Now he is very comfortable in our home and with us. He likes to lay next to me while I crochet. Or on my crochet! He is beside my laptop now actually, enjoying the heat thats blowing on him I bet.


Wednesday, July 17, 2013

Welcome home Lil' Bro!

As I said, super busy this past week. I did all that decorating and cleaning and organizing for one party. LOL! Hubby Dwayne's little brother is in the Air Force, and he wanted to throw him a welcome home party. He is back in Alabama for two weeks before he is shipping out to go to overseas. He is a cargo plane mechanic, so he should be relatively safe from danger, but we Southern folks say prayers for him no matter what.

Anyway, now the house is decorated and clean, but now I have to decorate and prepare for a party! Yikes, the week is almost over and party day is on its way! Good thing I planned ahead! My dad let us borrow his horseshoe set, and Dwayne's cousin brought his grill and cornhole game over.

Left: Husband Dwayne and his little sister (youngest) Right: Dylon (guest of honor) and his wife playing cornhole

I had been to the dollar store and picked up blue tablecloths, plates, and cups during the week. I also got some toy planes and spray painted them blue. They got set around the cake as favors for the kiddos.

Oh, the cake. Such high hopes I had for it. I had found a very nice idea on Pinterest for designing your own cake decorations from printed images, and was going to make the Air Force symbol.


my cake's design


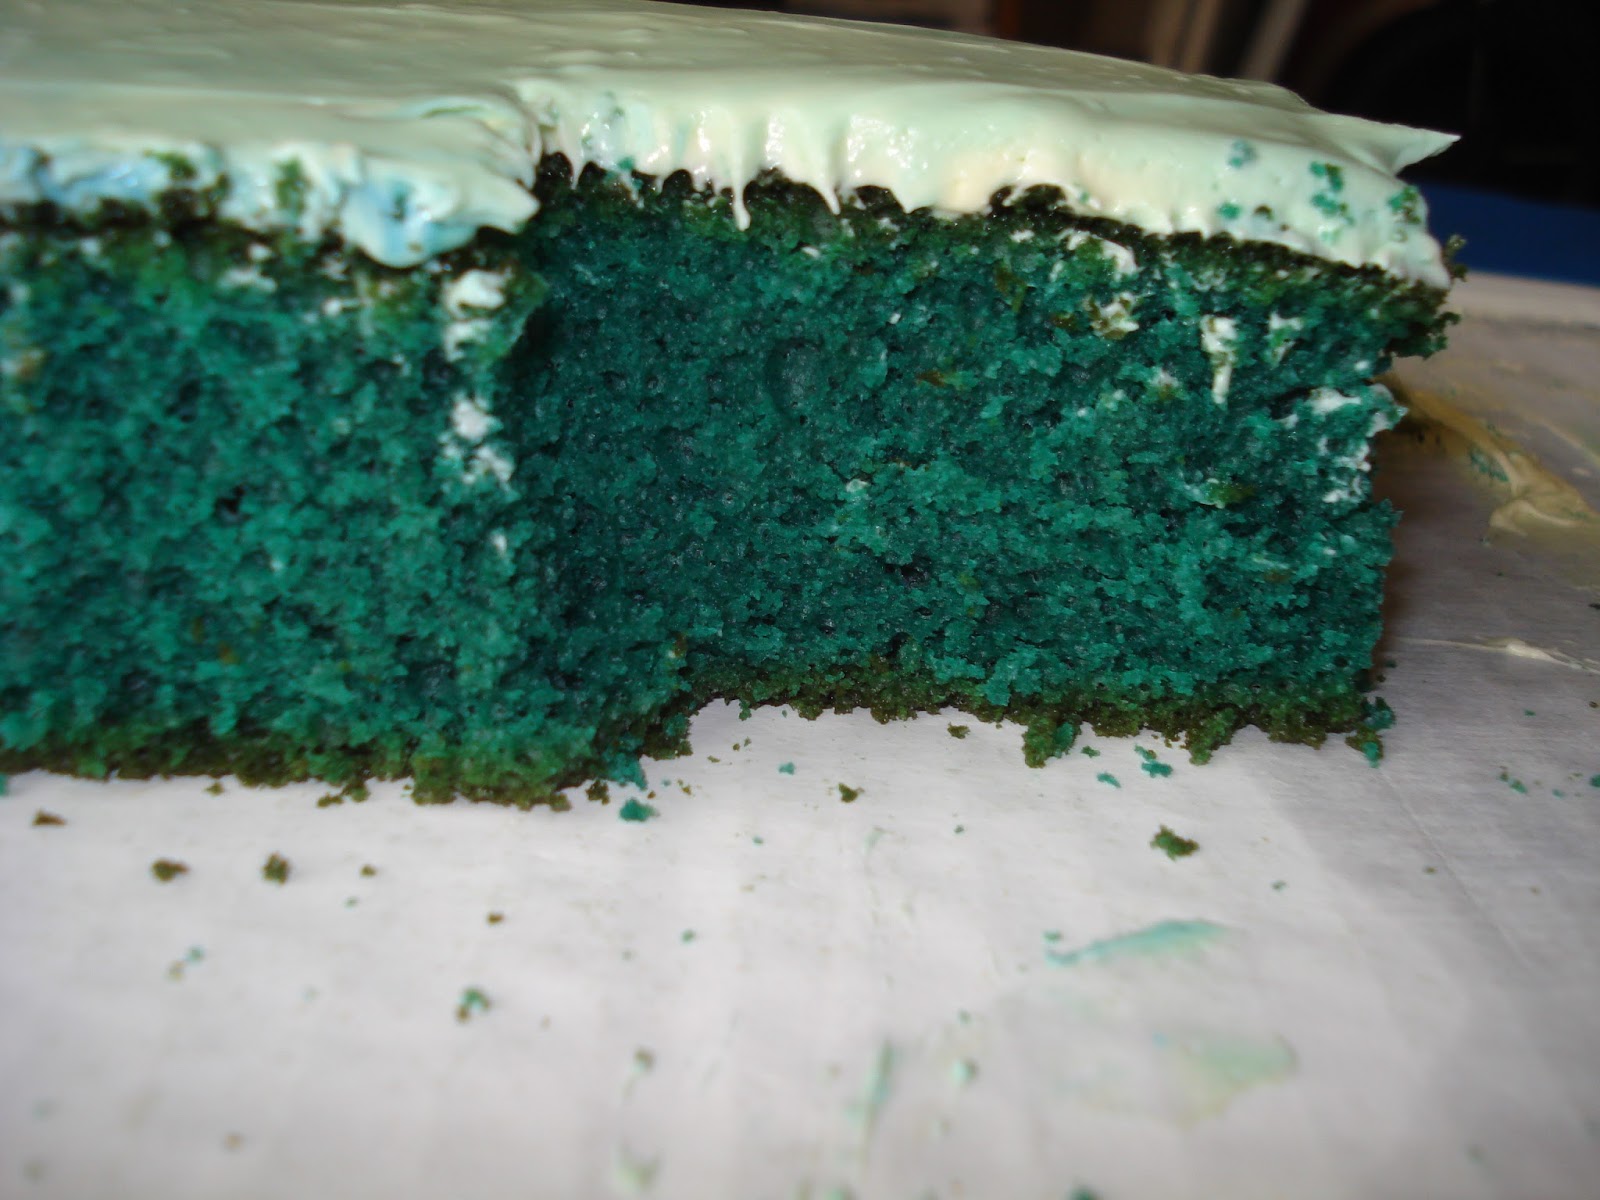
It didn't work out like I hoped, so I just blended smeared the design into the icing already on the cake. I also dyed the cake blue! I thought it would be fun to surprise everyone with a white iced cake and blue interior. It did! Everyone loved it! My cake came out a bit more turquoise-y than the one below, which is the image from the recipe I found. I think it was because my cake mix was the box kind, not scratch made. The boxed vanilla is still a bit yellow too, not white.

Blue Velvet Cake "Pinspiration"
I didn't get many pictures because we were all busy having fun and chatting it up, but I did manage to get a few. It started raining for about 20-30 minutes during the party, so everyone was inside or on the porch. The guys turned on the Xbox and were zombies for a few rounds of Call of Duty, and all us girls sat on the porch just conversing with each other. Mostly poking fun at the guys and their game faces.

Dylon and Dwayne vs Bubba and Blake
All in all we had a good party. Most all the food was eaten, so we didn't have many leftovers. Except the cake, no one took any home for later.  :P  So, now I have half of a half-sheet cake sitting on my table. I'm trying very hard to NOT eat it all. (Yeah right!)

So, who wants to come over and eat some blue vanilla cake with me?

Ok, let's decorate!

Wow have I been busy lately! I left McDonald's, after staying for one year like I said I would. And now I have all this time on my hands once again.  What have I been up to? (Other than unpacking...)

I'm working on a crochet baby blanket for my (1st!!) niece, decorating and organizing the house (better than it was before), and I had to throw a party 2 days ago! I know that doesn't sound like its that much, but it was/is. I have so much to show you guys, that I will be posting more than once today. I guess I should just jump right in!

First off let me show you all the changes I have made to the house.

Remember the shelves from Shanty2Chic that I shared a few posts ago? These are mine!

Oh, and the Bishop sign on the floor is a gift from my dad. I have yet to decide where to put it.

Entryway
Bathroom


I finally got the chance to paint them this weekend! Its been raining all the time here, so I never had a dry, sunny day to paint them until just recently. I went ahead and painted my curtain rods as well, just in case I didn't get the chance later. I made my own from thick dowel rods at Lowe's.


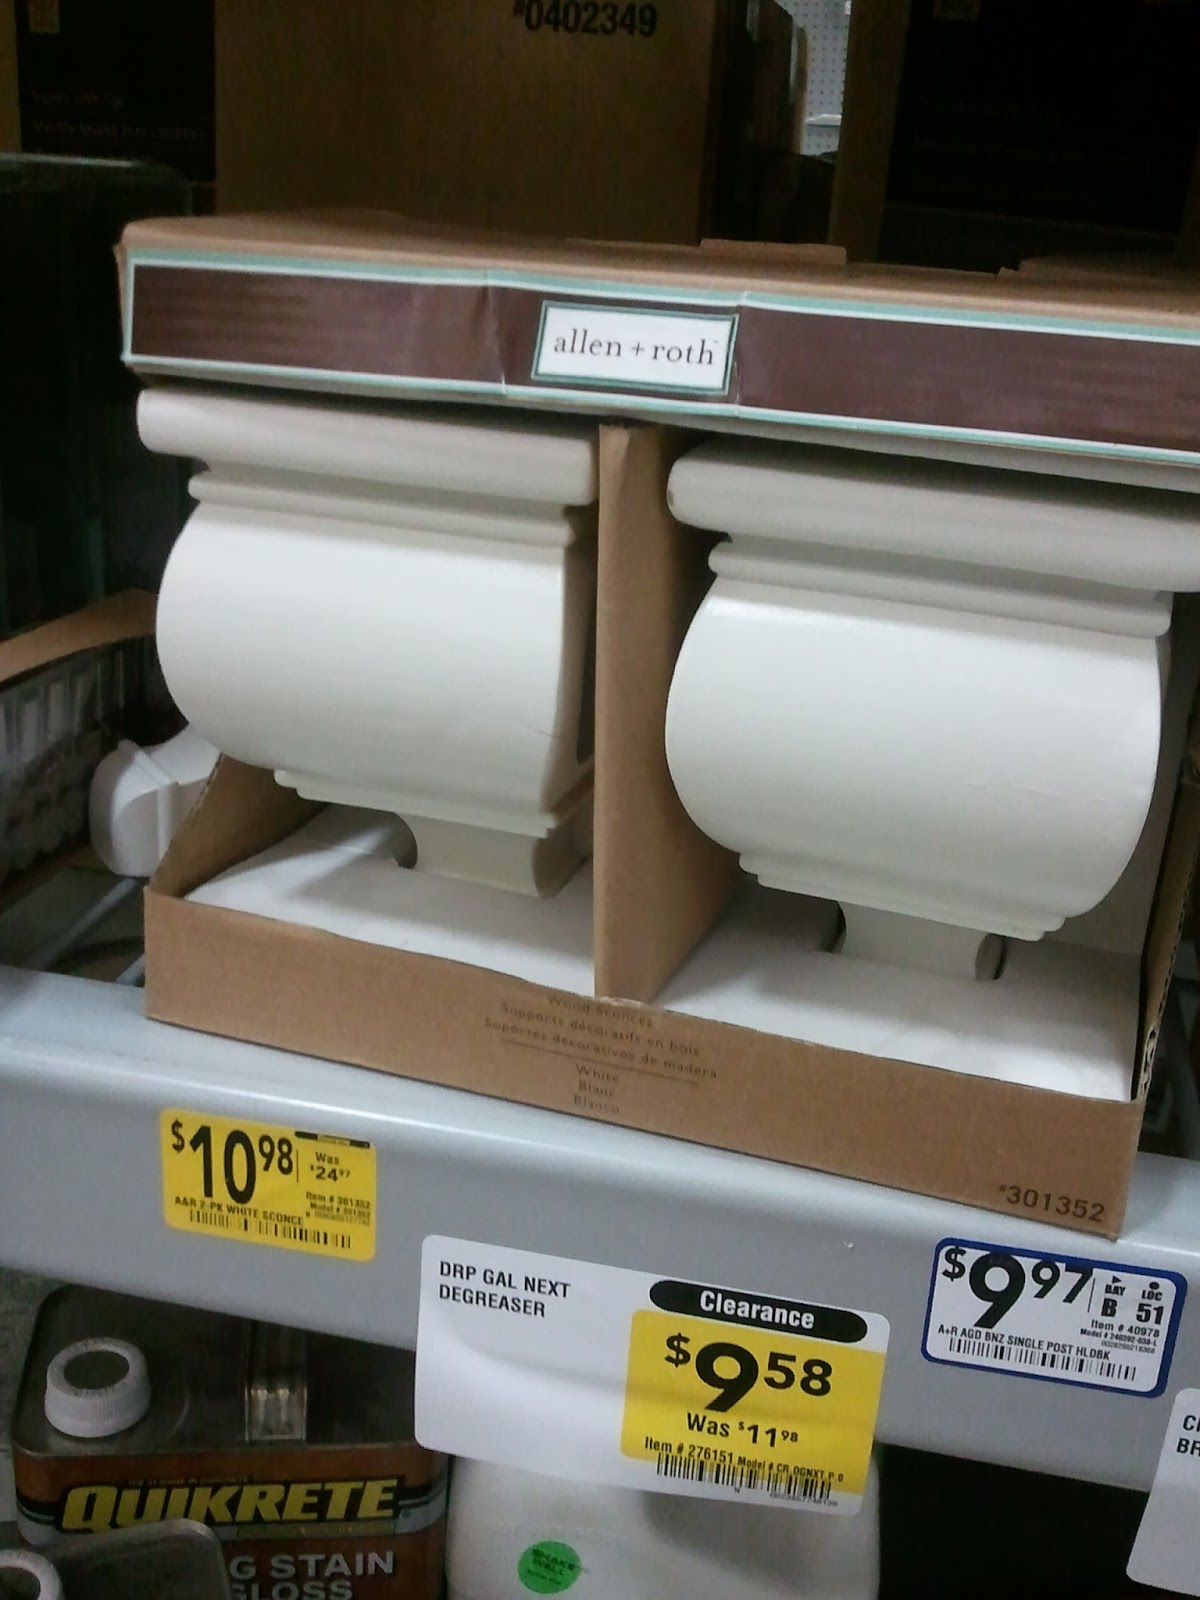
I found these rod hangers (corbels?) at Lowe's in the clearance section. They were the only kind to hold a rod and possibly a shelf, which I might add later. :) And I managed to find 2 sets! How perfect!
Here is the inspiration for my burlap curtains. Not Pinterest this time! I spotted these at a booth in a second hand store and snapped this picture with my cell for future copying! (Read: showing the husband what I wanted)


These curtains were super easy to make too. No sewing! I safety-pinned the twin sheets at the top to make the sleeve for the rod, and just tied the burlap onto the rod with the same jute string I used to make it look tied-back. And for the fluff at the center, I thumb-tacked it to the wall. All done in less than an hour!

Not bad for just a few twin sheets hung on a really fat dowel rod huh?


How do you like my storage unit under my air conditioner? (please ignore the air unit, I can't do anything about it) I bought some burlap and linen squares from Hobby Lobby and just hung them with tiny clips!


Want to know how much I spent? $78 TOTAL! Pretty cheap in my eyes, especially since real curtain rods alone were upwards of $25-$30 each at Lowe's.

And don't get me started on the price of curtains!

I bought 4 flat twin sheets for at $4 each! Way better!


Here is the rest of my living room. I'm not sure I like the arrangement of photos over the TV, but it works for now. The wreath is the barbwire one we used to decorate the front gate at our wedding, and so it deserves to be displayed with our engagement photos.


I also cleaned up the scary-messy closet. I can now get to what I need fairly simply. I know, it still looks scary.


I hung a few more art pieces and photos too.
The Indian lady and horse are in my bedroom, and the patience quote is in the bathroom. I bought the horse off Amazon.com. Its called "Fierce Grace". The other two I found at the thrift store.


"Adopt the pace of nature. Her secret is patience."
My guest/craft room is much nicer as well. I have most everything put away in its proper place. With a few decor pieces too. I have a whole storage drawer thing devoted to my yarn. I think I have enough, don't you? The other one you see is winter clothes, which was this unit's original purpose until we got the armoires.


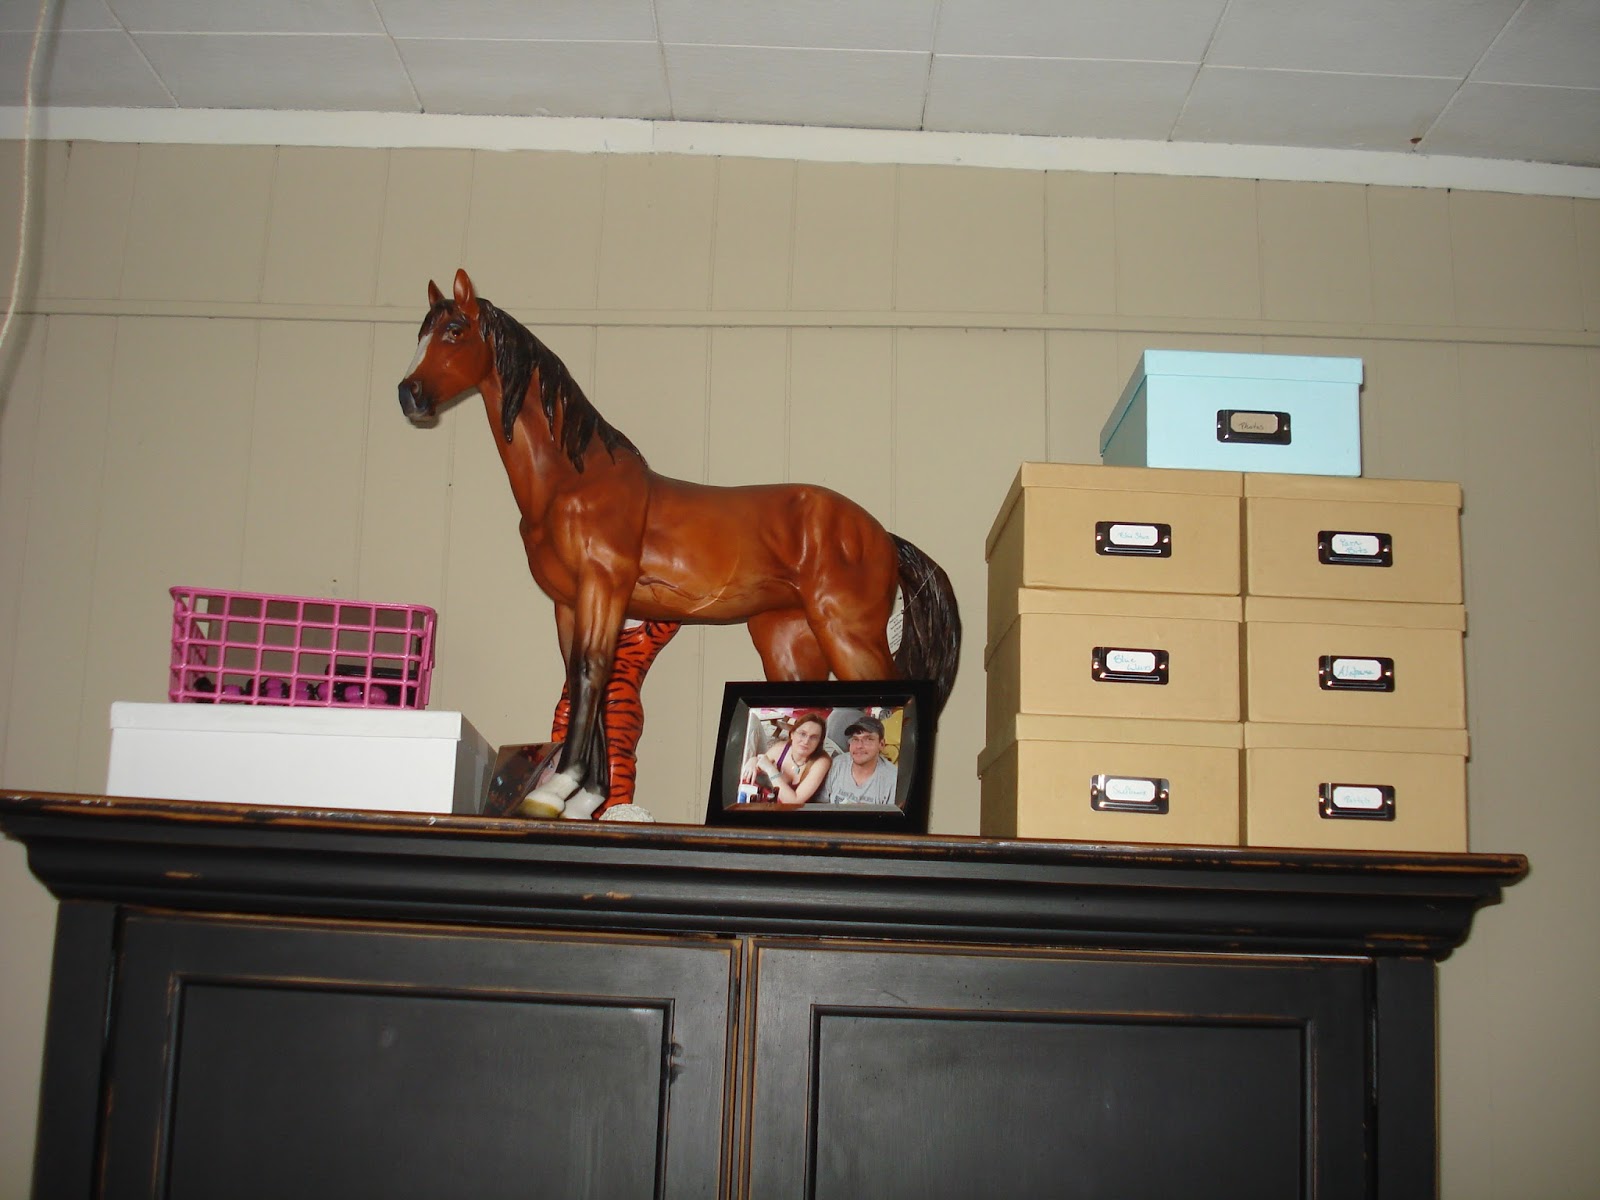
I decorated the room with a few of my horse themed pieces. My chess piece came from TJMaxx and the big horse on my Kraft Kloset is from Hobby Lobby. If I find another one I may have to get it! :) I have an Aubie statue behind him, but he needs a repair, so I have him hidden. All my tan boxes are yarn projects I have (mostly) started, so yes I do have more yarn! The blue one has a LOT of photos in it, mostly wedding and engagement 4x6's.


Lastly, my kitchen. Its much better than the last time I showed it to you, right! I'll explain the cake in the next post, sorry.

That's about it for my house update, its come a long way I will say that. As you can see I'm not done yet, but then again homes are never completely finished being decorated. Stay in tune, because I have more to come. I'll be posting more than once today to try and cut down on my insanely long posts! :) Stick around!

Wednesday, April 18, 2012

Table : Done!

OK, so after about 3 months, my kitchen table is finally finished!

This table has been in my family since before I was born, I think my uncle gave it to my parents as a wedding gift. Its an old cable spool that my uncle stained and sealed. He also put rope in the space between each board so nothing would get into it. I can remember as a kid I would sit under the table and count each board in the barrel section. Of course I never thought to mark my starting point so I would make circles around the table just counting. After a few moves, the table found its way to my dad's barn, where he used it as a type of work bench. Oil stains and dirt mixed with the wood and over time it just started to become an "outside" table. In the summer we would still use it because it made a good place to set the condiments for a BBQ.

Once my husband and I moved into our new apartment, dad asked if we needed anything. Oddly enough, we had gotten rid of our old table because it was way too big for our 1 bedroom. Dad asked if I wanted the spool table. I had always told him never to get rid of it because I wanted it, and so I instantly said yes. My husband and his cousin were helping us move in, and both of them gave me an odd look when they saw me rolling the tabletop in. Covered in dust and dirt, it looked like my husband wasn't going to let me bring it in the house. I simply said "you'll like it once its refinished" and rolled it in.

It sat in pieces behind my living room couch for the first month, and slowly each piece got sanded down to the bare wood. This is what it looked like after my husband started sanding it.


The 2 boards to the right are what it looked like before we started. Paint and oil and dirt had accumulated while in the barn, but it already looked better with just a sanding. After sanded down, it took me a while to decide what stain to use. Finally I chose a homemade stain, the "barn wood" or "aged" look. I bought extra fine steel wool and some white vinegar and put them in a jar for 24 hours. I was skeptical that it would work and tested it on the underside of the tabletop. (hidden once assembled)


This is a comparison to the natural wood (right) and the barn wood stain (left). It was slightly darker than I wanted, but it looked nice enough, so I applied it to the rest of the table pieces and let them dry overnight.
The stain was dry to the touch within about 20 minutes but i gave them time to dry outside because of the vinegar smell. Once dry you really couldn't tell it smelled at all.

Next was the finish, and that was what really made it all come together.


I chose a matte finish from rustoleum, and probably should have gone with a satin instead. I wanted minimal shine, and the matte didn't require sanding between coats. Looking back, a satin probably would have been just as good with fewer coats. I gave each piece 3 coats of the matte for extra protection.

Below is the bottom of the table. I started staining it then decided it didn't need it there because no one was going to see it, and I should save it for the rest of the exposed parts.


After I sealed this piece I almost decided to strip the whole thing and just seal it! The top is the stain and one coat of seal, and the bottom is the natural wood with one coat of seal. I REALLY like the natural wood's richness!

It was a little difficult to get a good shot of the tabletop once I was finished, because the sun was so bright, but here is the best shot I have:


See the steel circle in the picture above? My husband had the good idea to place a scrap board under it to keep anything from falling into it. I managed to get a quick shot of that, he works so fast.


Assembling it was the hardest part, but once the first few boards got set the rest was pretty easy. Doing this upside down was the best way. No pictures of that, sorry. I was the one holding up the bottom piece so the barrel pieces could slide into their grooves. The top and bottom pieces both had a matching circular groove, and the barrel boards went there. 5 steel rods keep the tension on these boards, and this makes the table. Above you can see the grooves and rods, along with our scrap board.


In this (really dark) picture you can see how it all goes together. My dad also gave me the chairs, the same set from when I was little. Everything is still in pretty good shape too.


Like my Easter decor? I found the chocolate bunny-bank at the thrift store, along with my blue Ball jar. The flowers are from my wedding decor and the "chick" feeder is a creation my grandmother Coogler came up with. It has Easter M&Ms in it, and some pretzel M&Ms too. They are my new favorites. You can tell the family likes this thing because its almost empty!

Well! That was a long post, are you still here? :) I hope so, I have more to come. I am trying to make myself stick to more of a schedule now, so hopefully that means more time to blog. Once I find my camera's conversion card I may start some video blogging to save time. Not sure yet.

Stick around, I'll be back soon with more to type!

Wednesday, March 14, 2012

DIY Week!


Ana White - Little Crates

This link will send you to the instructions I used to make my crates for the bathroom. FYI, its an addicting site, that will keep you on it for hours! Especially if you are a DIY-er like me.
Me and my husband made these in about an hour when we went to my mom's for the weekend. The tutorial said to use 1x4s but I wanted something a little deeper so we went with 1x8s. I was able to make 3 crates with this tutorial, and I only had to buy a few extra slat boards to compensate for my extra 4 inches. I think I bought 2 extra slats. I bought my materials at Home Depot and the guy running the saw was kind enough not to charge me for all my cuts, even though only 2 cuts are free. (but tell no one!) ;)

So, I hung them up about an hour ago, and as you can see (so far) they haven't fallen. Haha, I hope that they don't anyway.

I found the idea on Pinterest for these ideas, so if you aren't a member already, go find someone who is and ask them to invite you, its faster than requesting an invite. Mine took about 2-3 weeks, and my mom said "why didn't you just ask me?" -I had no idea she was already a member!